This post may contain affiliate links. Please read our disclosure policy.
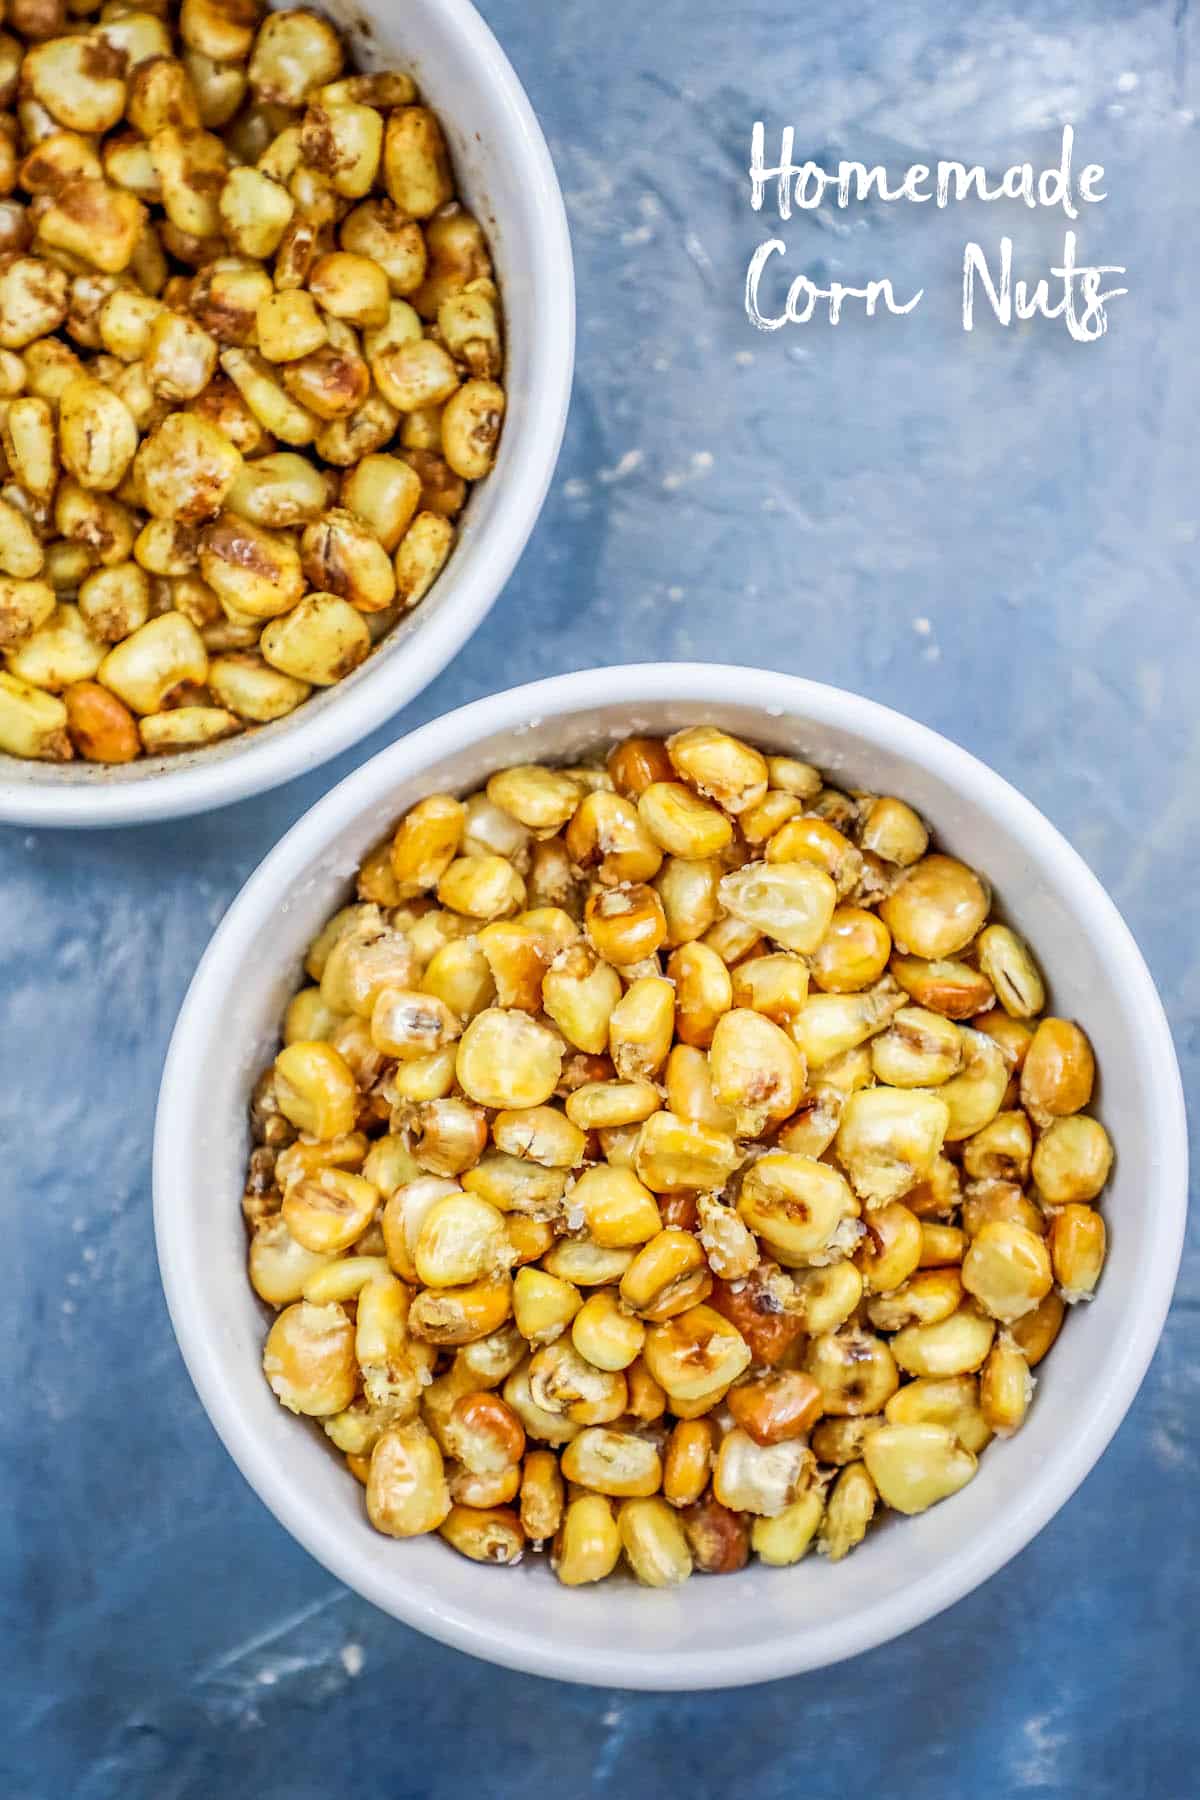
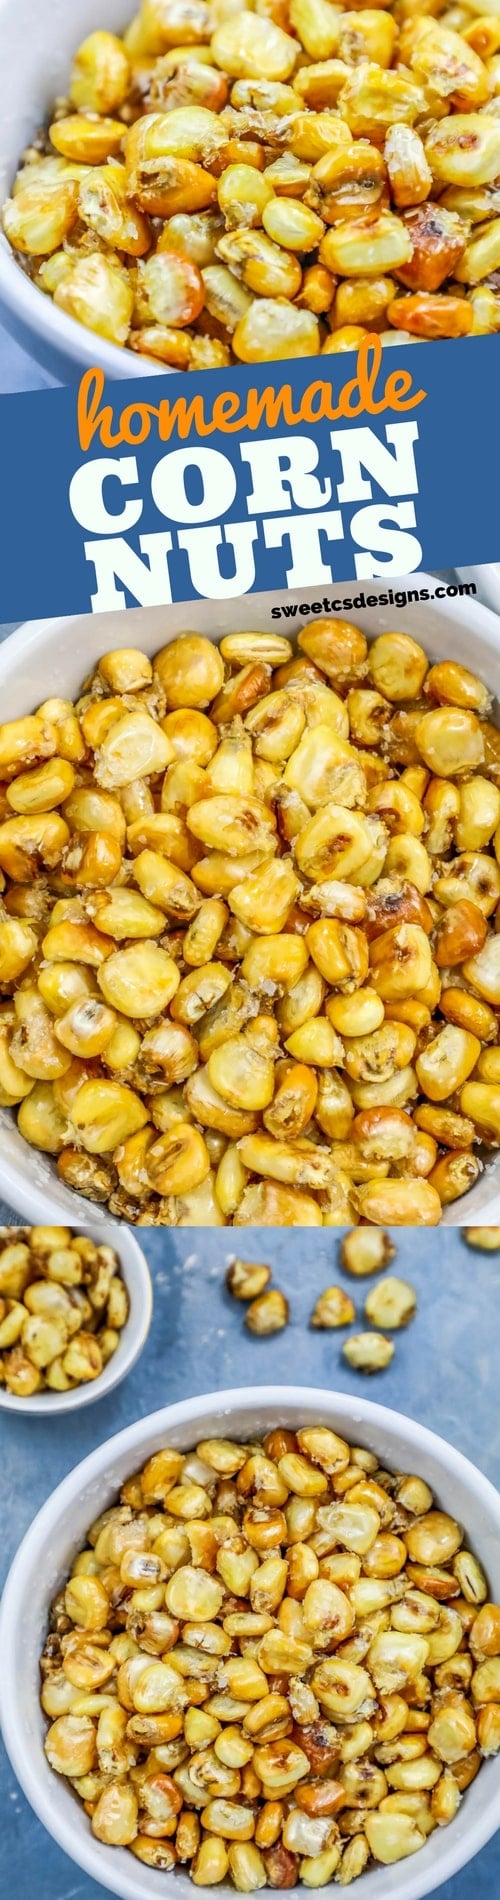
Homemade Corn Nuts – either baked or fried, are a delicious, addictive, salty and crunchy snack you can’t get enough of!
Don’t want all the extras in a recipe post? We provide a skip to recipe button in the top left corner, as well as a clickable table of contents, just below, to help make this page easier to navigate.
Now that it’s football season, I’m back to coming up with delicious, crunchy, salty, and totally crave-able snacks that are perfect with an ice cold beer and a loud game on the tv.
One of our family’s favorite snacks is always corn nuts – and I recently got the idea to try making them at home.
Corn nuts seem pretty intimidating – but it’s actually incredibly easy to bake corn nuts or to fry corn nuts right at home!
You can come up with delicious new flavor combinations, control your salt or seasoning intake, and make a giant batch for a crowd – in no time.
I am including recipes on how to fry corn nuts at home AND how to bake corn nuts at home – so you can pick the method you like the best!
Please read through all of the information in this post – since I am giving a ton of important safety information (frying and baking corn kernels can be a bit explosive), and giving lots and lots of seasoning ideas to be sure you get the snack you’ve been craving all season long!
Check out my web story about these homemade corn nuts!
Baked Homemade Corn Nuts
Baked corn nuts are unmistakably the easiest way to make this delicious snack – but baking corn nuts is sadly my least favorite way to prepare them!
While baking is super simple, I felt the corn nuts had a little bit of a chalky taste after baking (compared to the fried kernels). Frying gave a better crunch and a much more corn-forward flavor – but there is no mistaking – baking is super incredibly easy.
To ensure great baked corn nuts, be sure to fully dry the kernels, so they don’t steam or get soggy.
I recommend placing a large tray under your baking sheet in the oven, since the occasional kernel will explode as they cook, and you don’t want it to fall to the bottom of the oven and burn (though it’s not a big deal to scoop up if it does.)
When checking your corn nuts, just be aware that they do sometimes explode without warning – sort of like popcorn.
Don’t stick your hands or face over your baking sheet when pulling out of oven or turning corn nuts in the oven, or you could be burned with a hot flying kernel!
It won’t be as bad as say frying, but it’s best to step back a bit and give your corn nuts a little space, for safety’s sake.

Fried Homemade Corn Nuts
Frying Homemade Corn Nuts can be a bit intimidating – but it is incredibly easy, as long as you approach it with safety at the front of your mind.
Corn kernels explode in hot oil – and if you’re adding something with even a little water in it, or on the outside, it can cause your oil to explode and splatter.
When adding the corn nuts to oil, be sure to STAND BACK, in case any oil splatters.
Also be sure to dab your kernels dry with paper towels so it doesn’t spray too much as they cook. My kernels weren’t perfectly dry when I added them and it did spray quite a bit – but nothing dramatic, since I was standing out of the way and using a long spoon to drop them in.
DO NOT STAND WITH YOUR FACE OR HANDS OVER THE POT AT ANY POINT when making these!
This sounds super intimidating – but I promise, it really isn’t. I just don’t want to ignore the importance of frying carefully. If you have a splatter guard or even a lid to your pot, use them! I just kept the pot lid slightly askew so steam could vent, but it kept hot oil from spraying when the occasional kernel exploded.
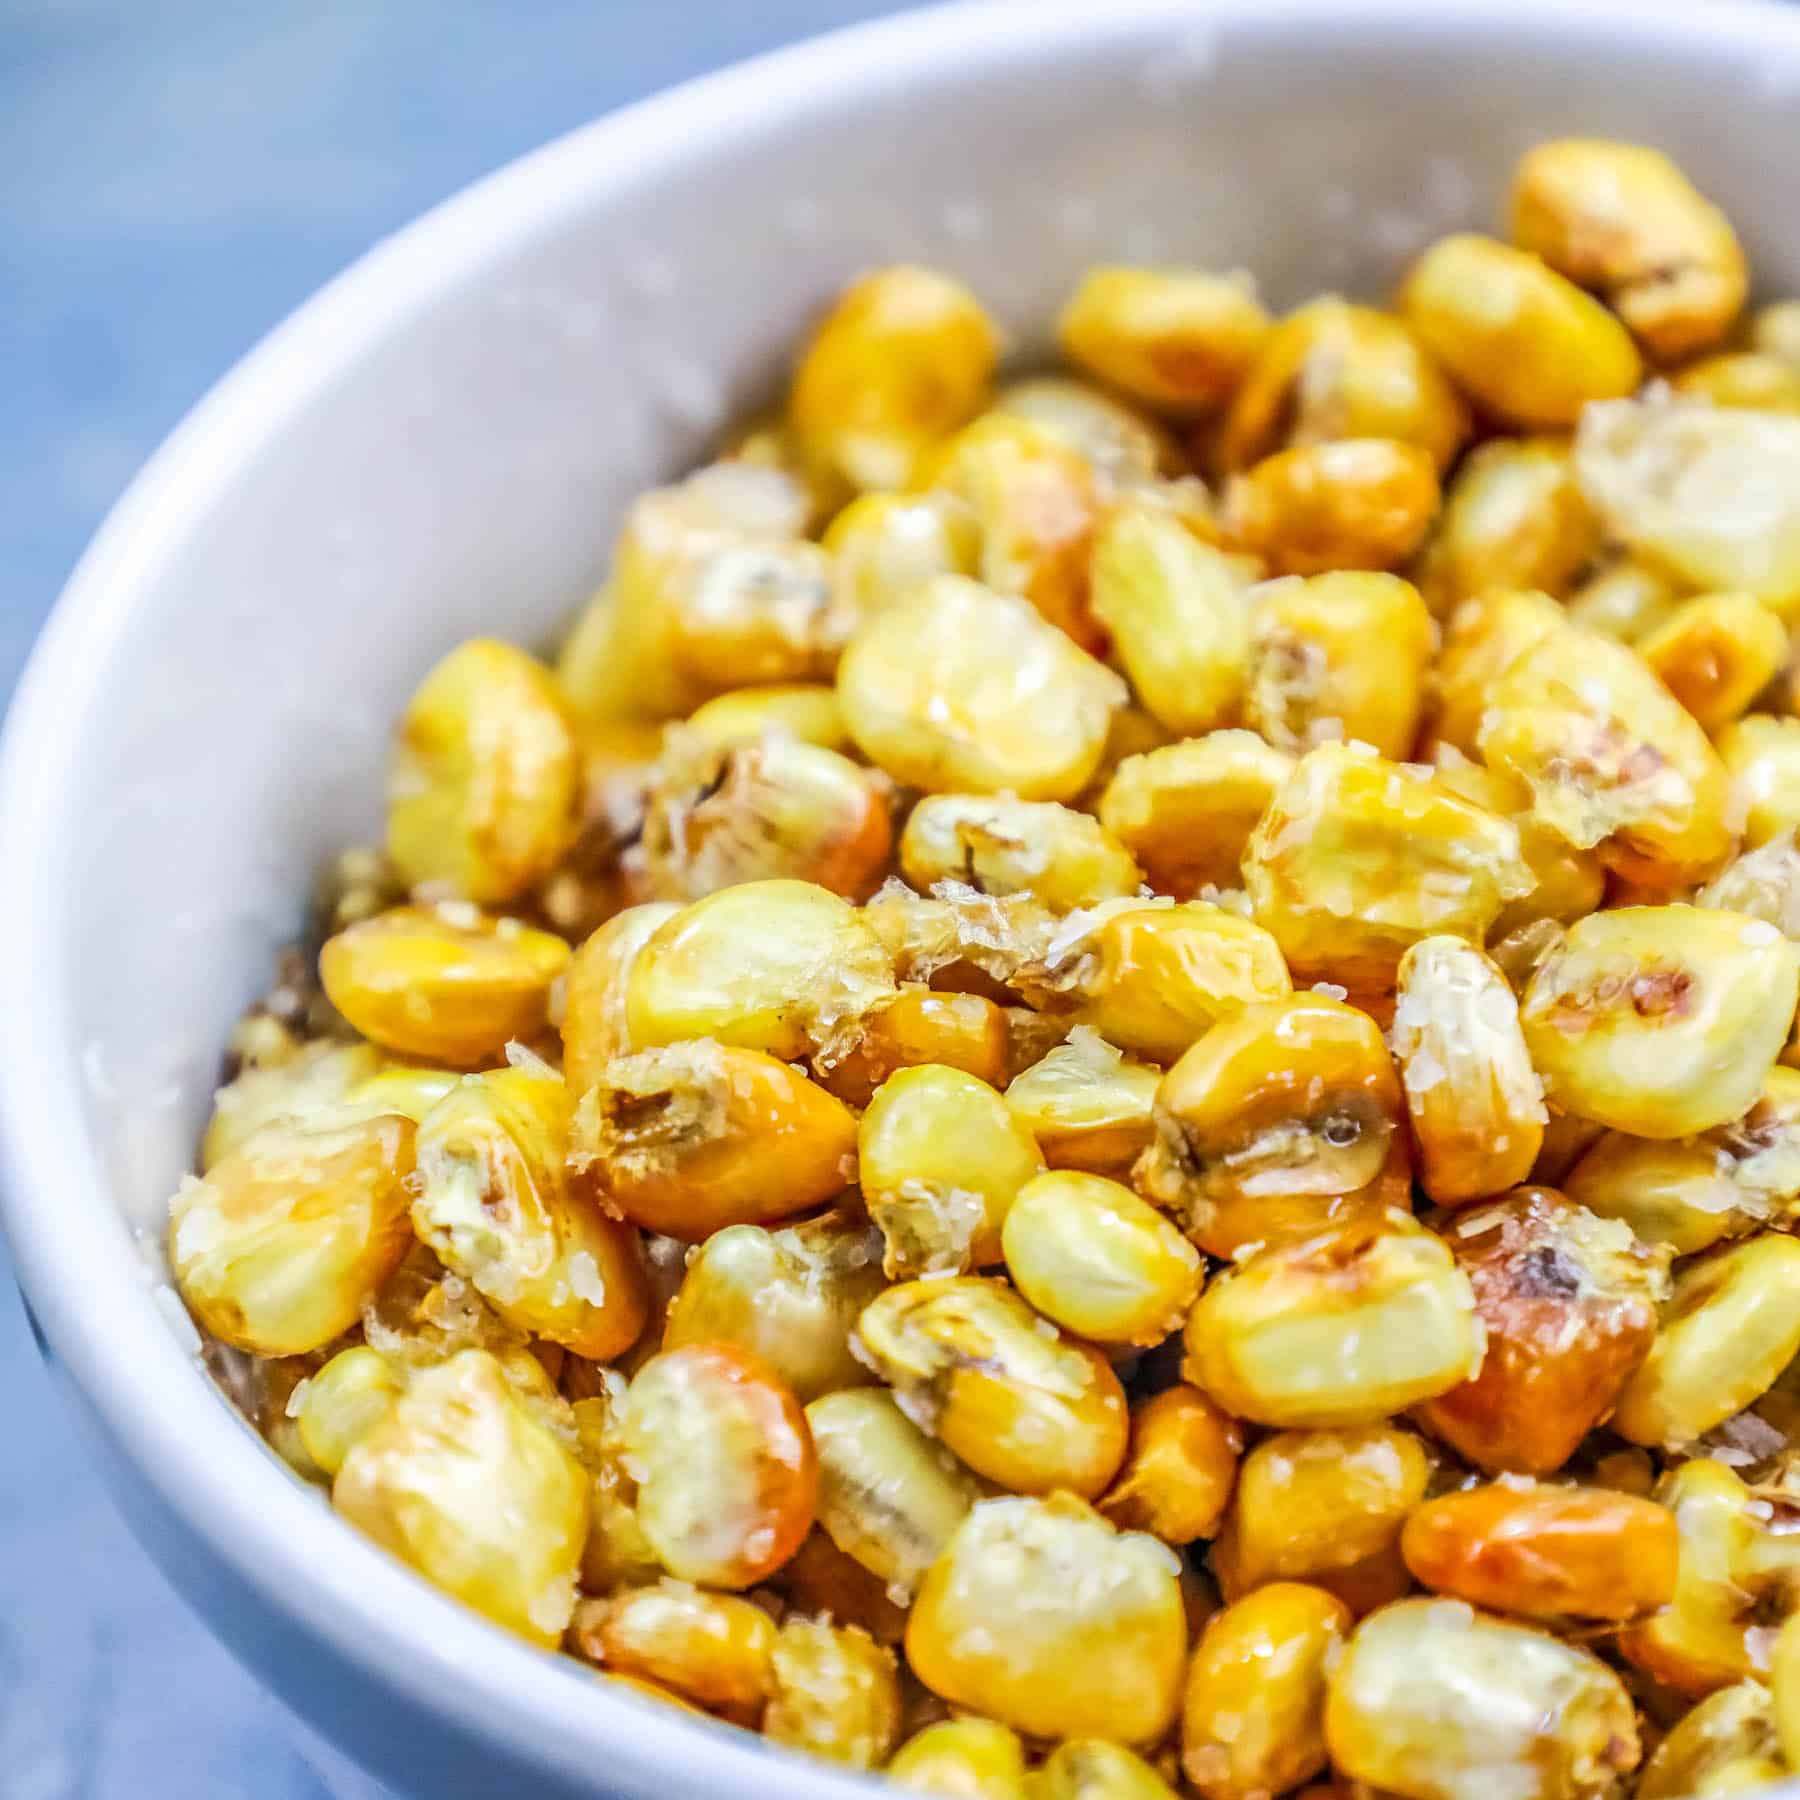
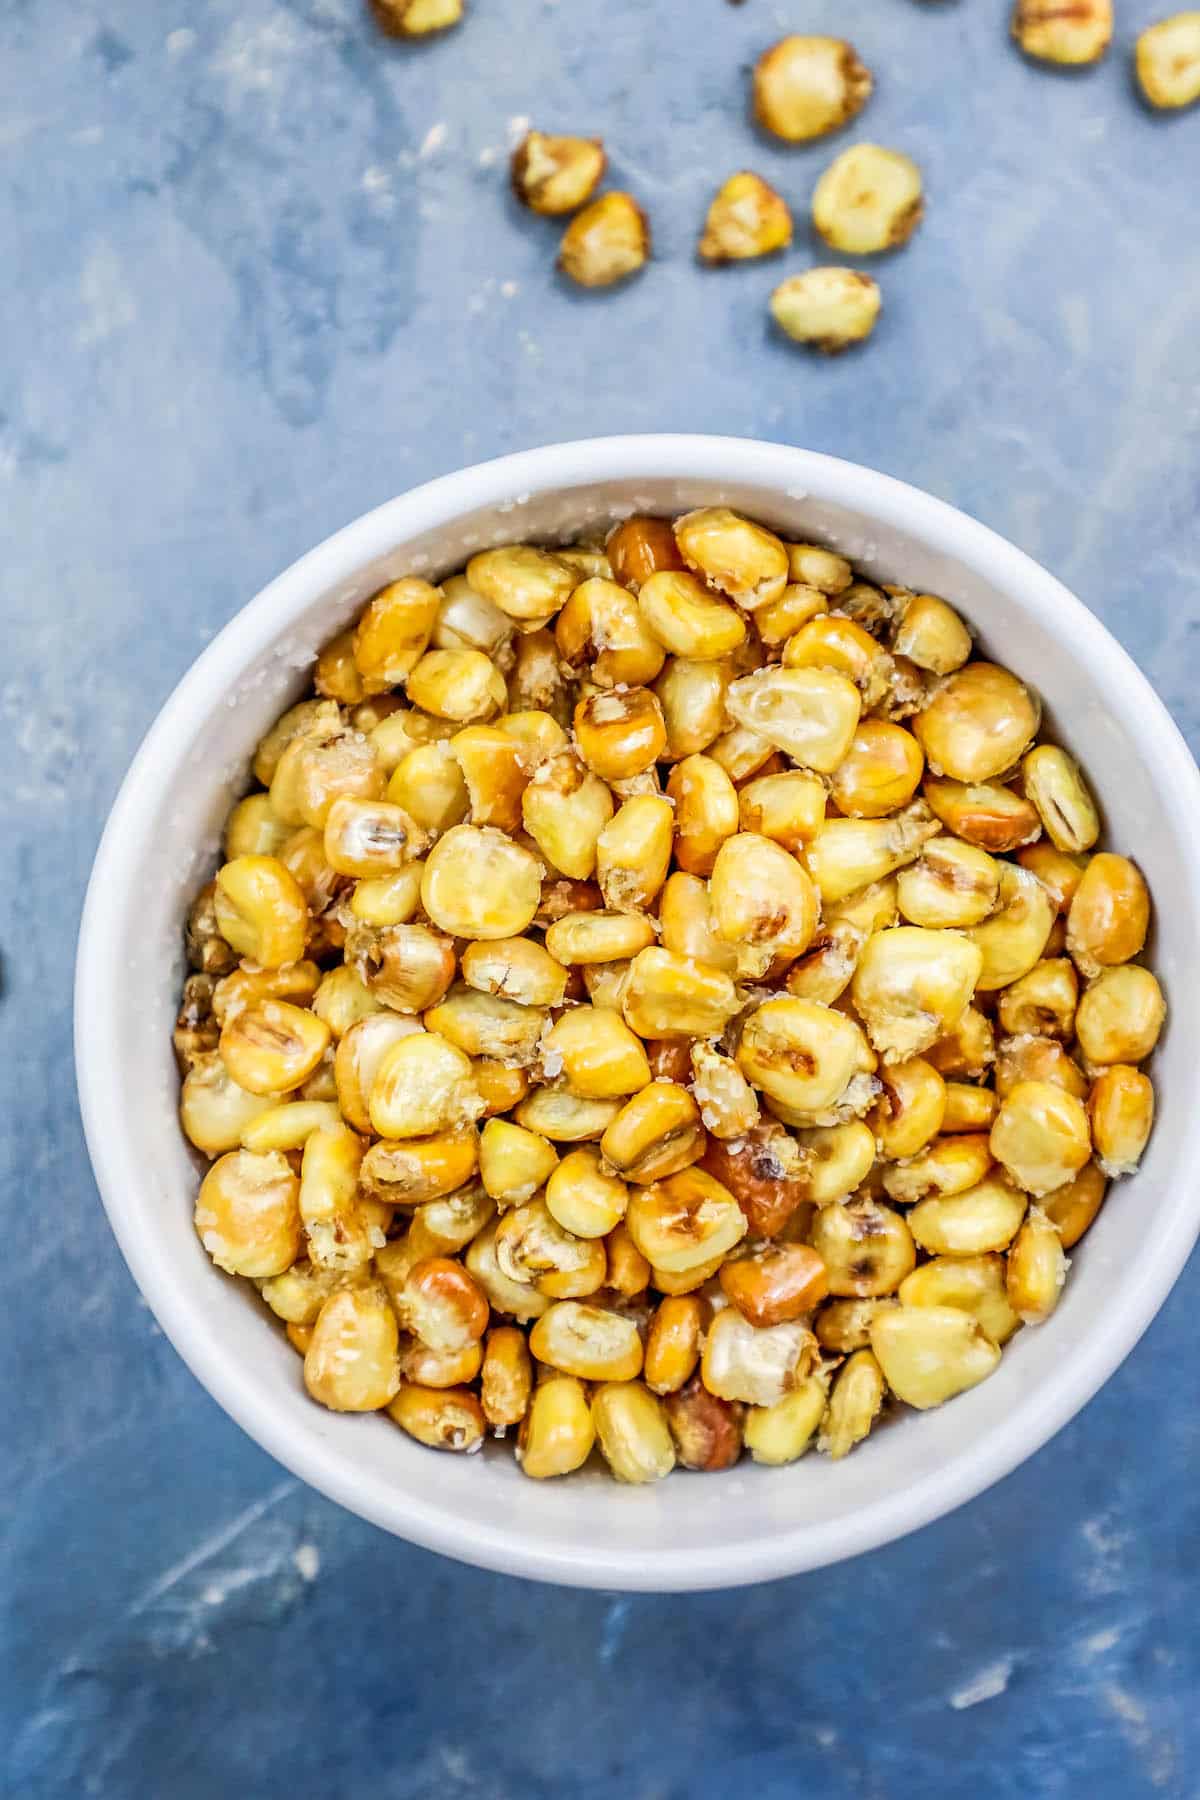
If your corn nuts have a bit of a soft bite to them after frying, you can make them even crunchier with a quick pop in the oven for 10 minutes. I also found these harden up quite a bit when cooled – and taste better cooled.
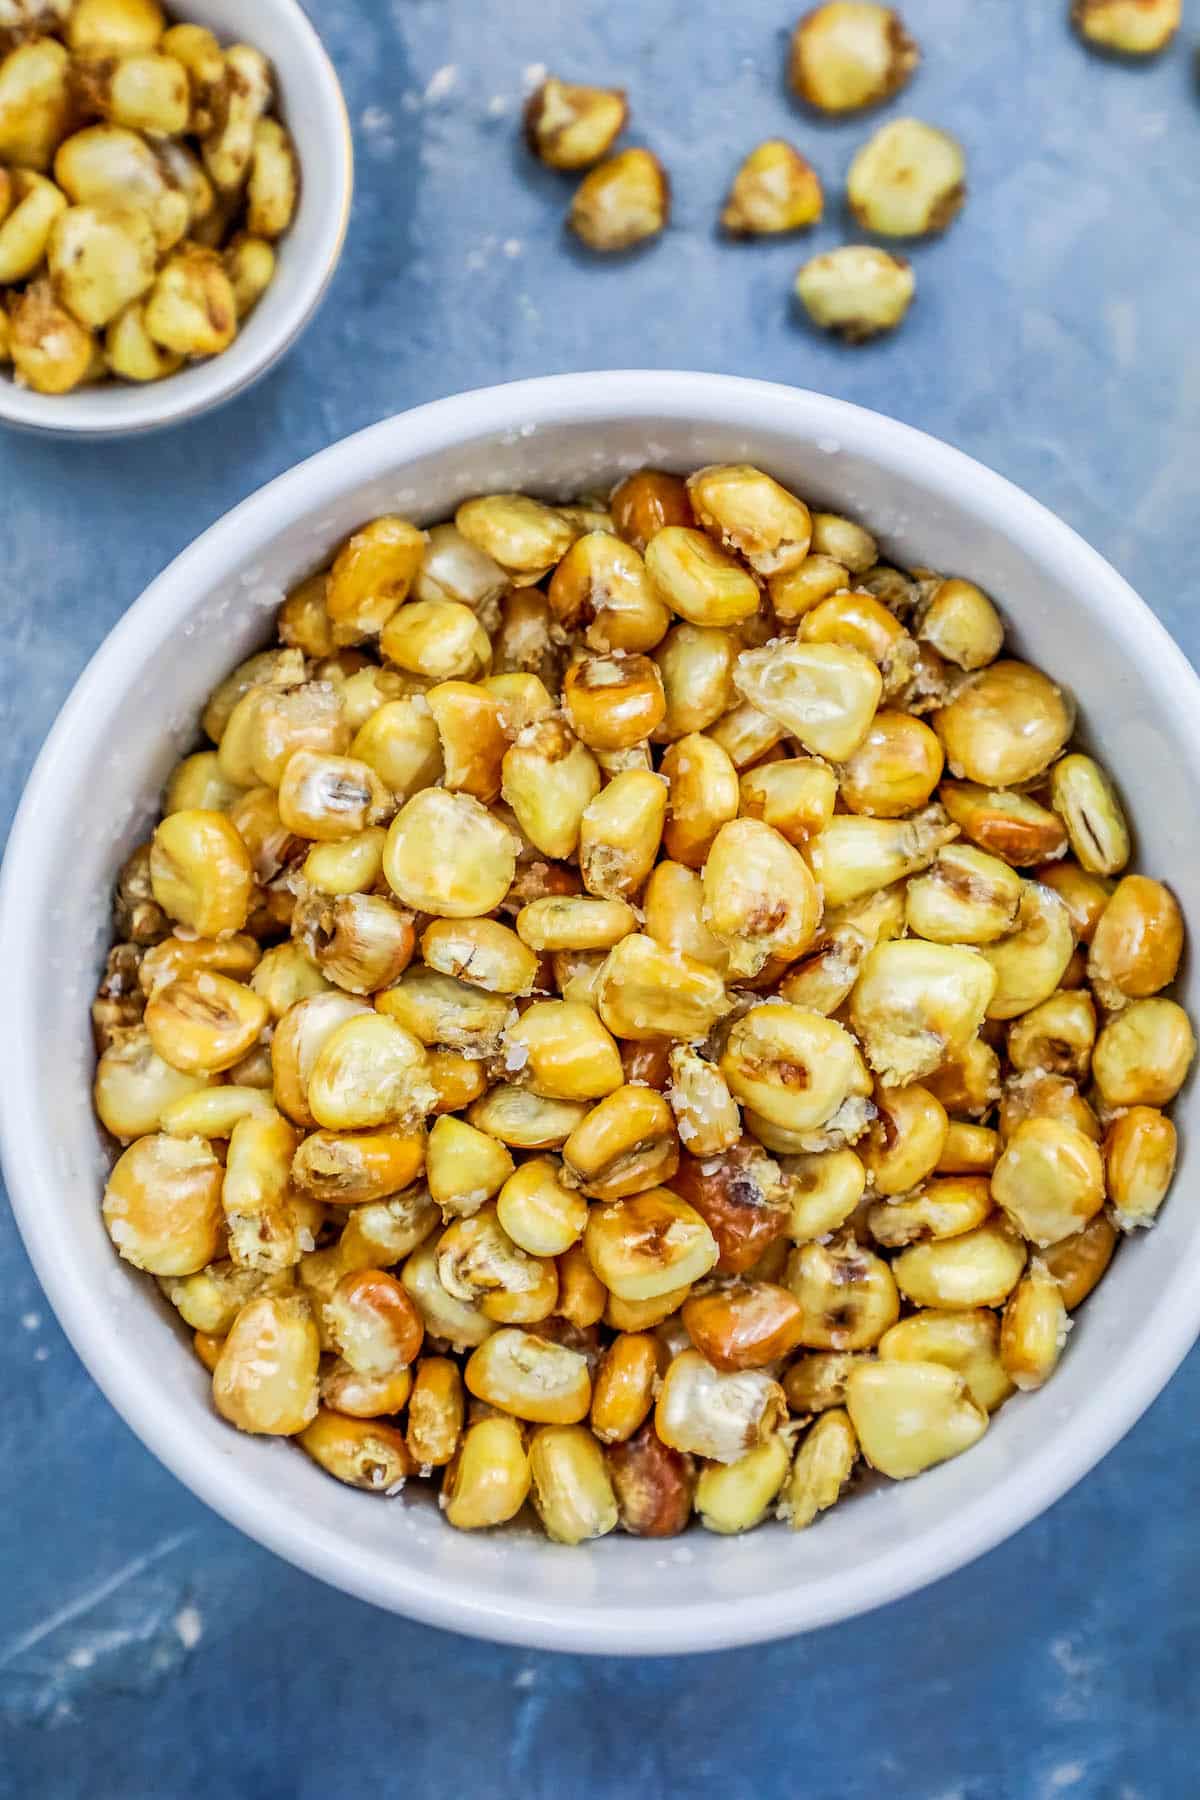
Homemade Corn Nuts Flavor Ideas
There are so many delicious flavoring ideas – that are all super simple and go so well with this delicious snack recipe!
When I make these, I like to divide up my recipe into 3-5 smaller batches, and try out different seasoning ideas. If you’re using Old Bay or Montreal Steak Seasoning, you can go ahead and bake the kernels with the seasonings on – otherwise, add all other seasonings at the end when cooked (especially if frying) to prevent it from burning.
Corn Nuts Flavor Ideas
-3 tbsp blackening seasoning
-3 tbsp ranch dressing powder
-3 tbsp smoked salt
-3 tbsp Old Bay Seasoning
-3 tbsp taco seasoning
-3 tbsp montreal steak seasoning (do not use salt if using montreal steak seasoning as it’s quite salty)
-onion powder, thyme, rosemary, italian herbs, herbs de provence, garlic salt, chicken salt – any spices you like! Try out some and see what you love.

Homemade Corn Nuts – Baked or Fried Recipe
If you love this Homemade Corn Nuts Recipe as much as I do, please write a five star review, and be sure to help me share on facebook and pinterest!
For the video recipe tutorial, please click my video below:
CONNECT WITH SWEET C’S!
Be sure to follow me on social media, so you never miss a post!
Only have 30 minutes to get dinner on the table? Sign up for my 30 minute dinner plans direct to your inbox!
Find and shop my favorite products in my Amazon storefront here!
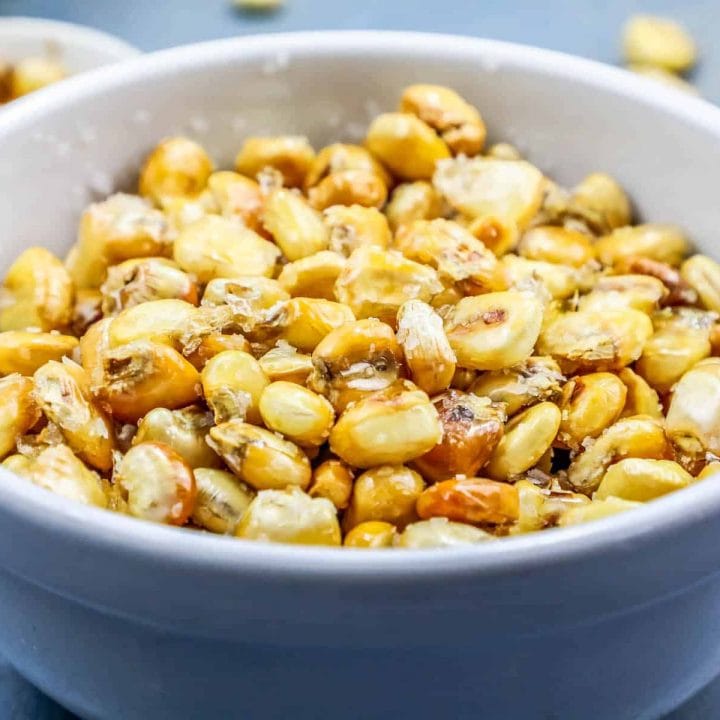
Fried or Baked Homemade Corn Nuts
Homemade Corn Nuts - either baked or fried, are a delicious, addictive, salty and crunchy snack you can't get enough of!
Ingredients
- 1 lb hominy, Dried
- 4 cups water
- 2 cups peanut oil
- 3 tbsp salt, finely crushed
- 3 tbsp old bay seasoning, optional
- 3 tbsp ranch seasoning, optional
Instructions
- Sort dried kernels and remove any stray shells or strings.
- Pour water into a large bowl, and add kernels.
- Let soak overnight.
- Drain, pat kernels dry, and let air dry about an hour (very important if frying!)
- Baking method:
- Preheat oven to 400 degrees
- Drizzle 2 tbsp olive oil over kernels, and toss in salt and seasonings.
- Bake for 45 minutes, until occasionally bursting and golden brown.
- Frying method:
- Heat oil to around 350 degrees.
- Add kernels, in small batches, and cook until golden brown- about 10 minutes.
- Be VERY careful, as kernels can pop and explode, and send oil flying. Use splatter cover or lid that is slightly ajar to help from being burned by oil. Kernels will spit a LOT of hot oil when adding to pan- so stand back!
- Remove, shaking excess oil back into pan.
- Pat dry with paper towels to remove any excess oil.
- Coat with salt, and optional seasonings.
- Eat and enjoy!
Recommended Products
As an Amazon Associate and member of other affiliate programs, I earn from qualifying purchases at no extra expense to you.
-
 La Tourangelle, Roasted Peanut Oil, Slow Roasted Expeller-Pressed for Rich Flavor, Perfect for Cooking & Baking, Med-High Heat, Unrefined, Small Batch Production in USA, 16.9 fl oz
 -
Goya Golden Hominy Corn 14 oz - Maiz Trillado Amarillo
-
Chefman 4.5 Liter Deep Fryer w/Basket Strainer, XL Jumbo Size, Adjustable Temperature & Timer, Perfect for Fried Chicken, Shrimp, French Fries, Chips & More, Removable Oil-Container, Stainless Steel
-
Zesty Ranch Seasoning by Oh My Spice | Low Sodium, 0 Calories, 0 Carbs, Gluten Free, Paleo, Non GMO, No MSG, No Preservatives | Gourmet Healthy Seasonings for Cooking & Flavor Topper Dressing Mix
-
OLD BAY Seasoning, 6 oz


Nutrition Information
Yield 12 Serving Size 1Amount Per Serving Calories 355Total Fat 36gSaturated Fat 6gTrans Fat 0gUnsaturated Fat 28gCholesterol 0mgSodium 2547mgCarbohydrates 7gFiber 1gSugar 1gProtein 1g
Nutrition is automatically calculated by Nutritionix - please verify all nutrition information independently and consult with a doctor or nutritionist for any and all medical and diet advice.


First about Hominy – hominy is made from maize, which is also called field corn or dent corn, and can be white or yellow.
I ordered 10lbs. of white dent corn from Azure with the intentions of figuring out how to make corn nuts.
I read several recipes and there seem to be variations on what kind of corn to use and what the best process is. I had a large container of peanut oil, which is a good high temp oil, so that’s what I used.
Round 1 – I used the dried dent corn/hominy soaked for 12 hours added to a fryer warmed to *300 – in my enthusiasm I did three small batches totaling about 1.5 cups. Results – were they hard!! I thought I was going to break a tooth – they got tossed!
Round 2 – tried another 1/2 cup of the soaked corn, cooking it a little longer as I read cooking longer makes them more tender – not so, they had a sharper flavor, were still hard as stones.
Round 3 – after thinking about the process I decided a little higher temp, about would make them open/pop making them softer during the cook time. Wrong – still hard!
At this point Hubby and I had to run errands so while we were out I picked up a can of hominy.
Round 4 – drained, rinsed and let the hominy set out for a couple hours to dry up a bit, then started the frying process in small amounts. The canned hominy was very soft, had many open kernels and as it cooked they stuck together, the results looked terrible, they didn’t brown, they were good but not good enough I’d make them again with the canned hominy.
I did some more reading and saw a comment from someone suggested boiling the corn for 20 min. (instead of the overnight soak).
I decided to start with the overnight soak (again) then throw them in a pot of water to boil. During boiling they plumped up nicely, I drained and spread them in a pan to dry for a couple hours.
Third round – placed a cup of the corn in the frying basket and set the timer to 7 minutes on *350 – the splattering and popping was minimal, far less than prior rounds! When the time was up and I opened the lid and was greeted by beautifully golden kernels, nicely plumped and still in their shape!
After cooling and tossing in french fry seasoning and salt we gave them a try…. perfection! The texture is the same as store bought, nice golden color and crunchy texture without being hard like a popcorn kernel, the taste is pretty close too. The trick seems to be boiling them to expand/add moisture and soften the kernel.
I would assume they’d turn out well baking or air frying, so I’ll give that a go next round.
We have a winner with this secret! I’ll be ordering more dent corn this month!
Did you ever bake and/or air fry? If so how did they turn out?
yes! You will need to presoak the corn then dry it well. Coat them with the oil and seasonings. Preheat your air fryer to 400 degrees. Work in batches to cook for 10 minutes then shake the basket and cook for 10 minutes more. Shake the basket again and give them 5 more minutes to finish. Let them cook before before eating! Hope this helps!