This post may contain affiliate links. Please read our disclosure policy.
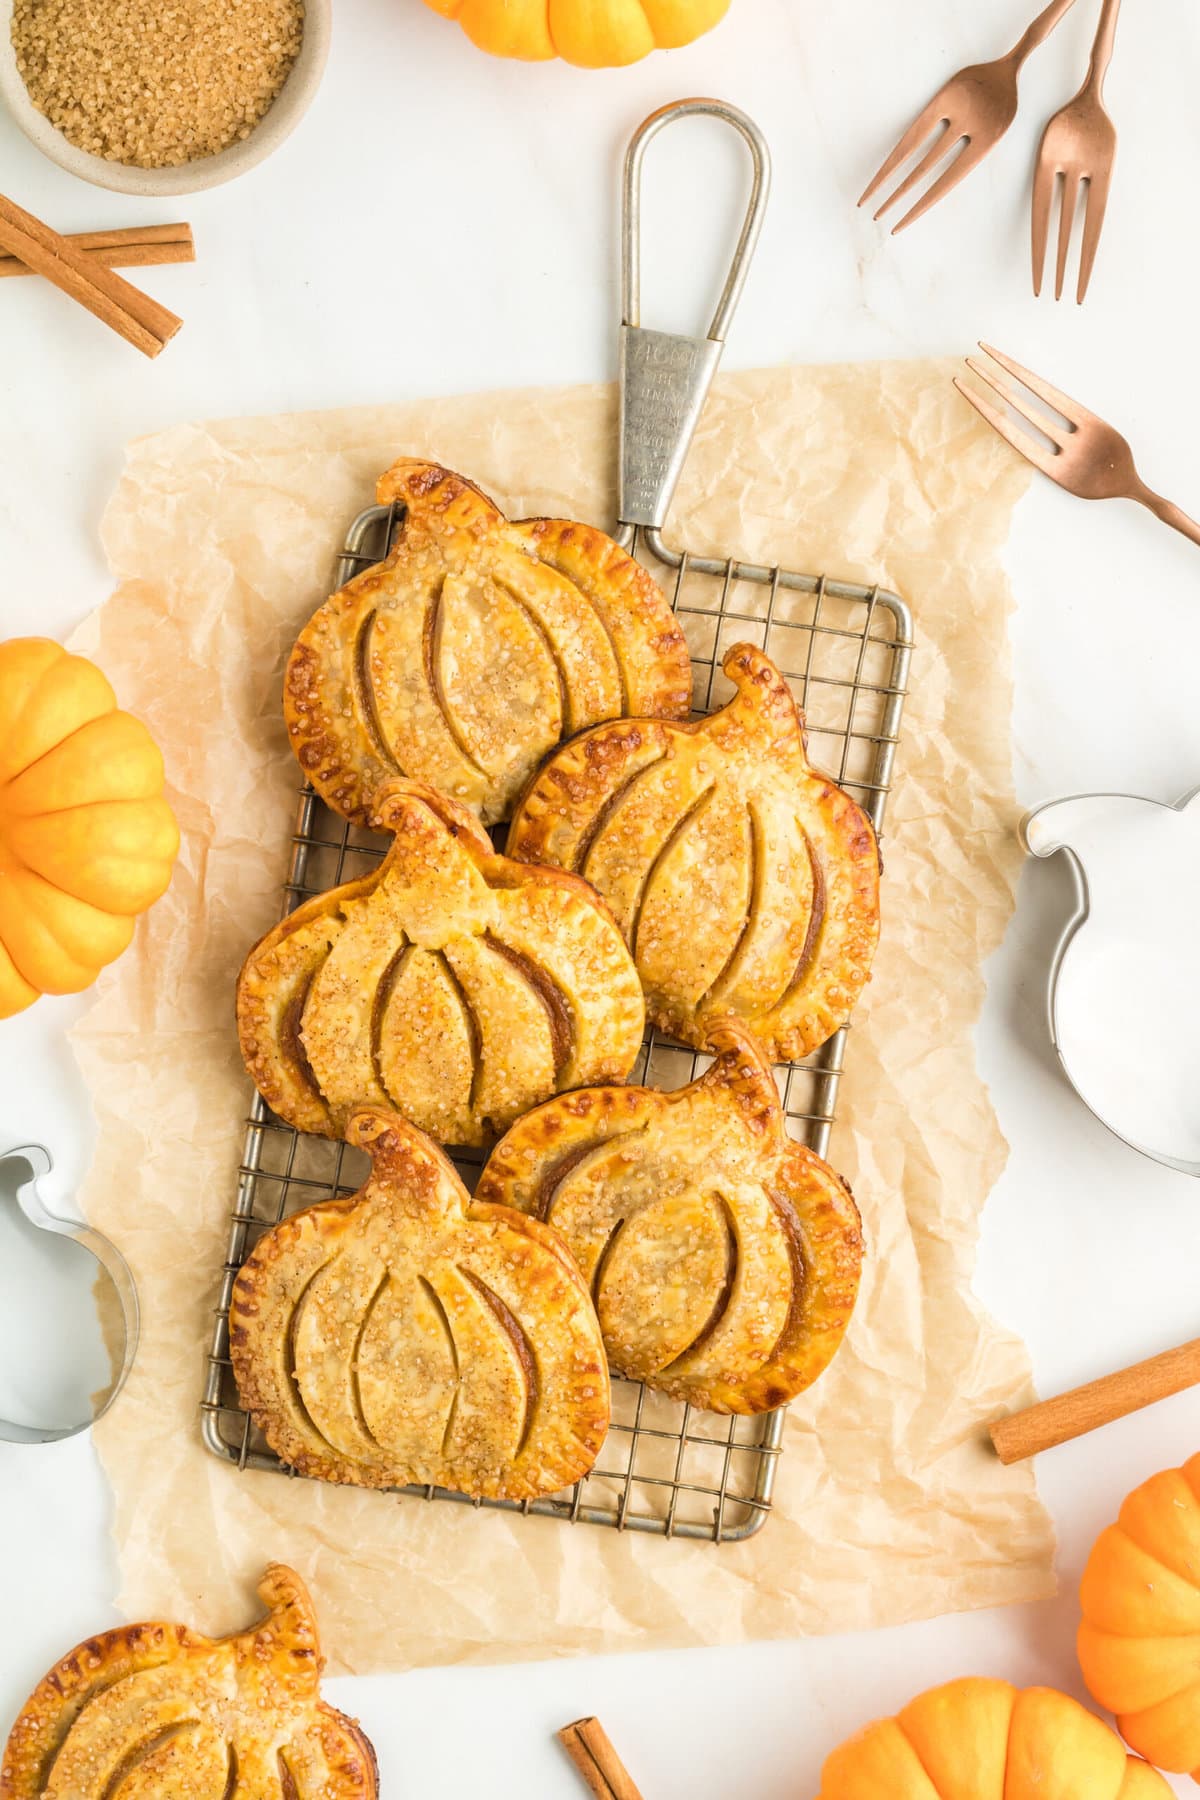
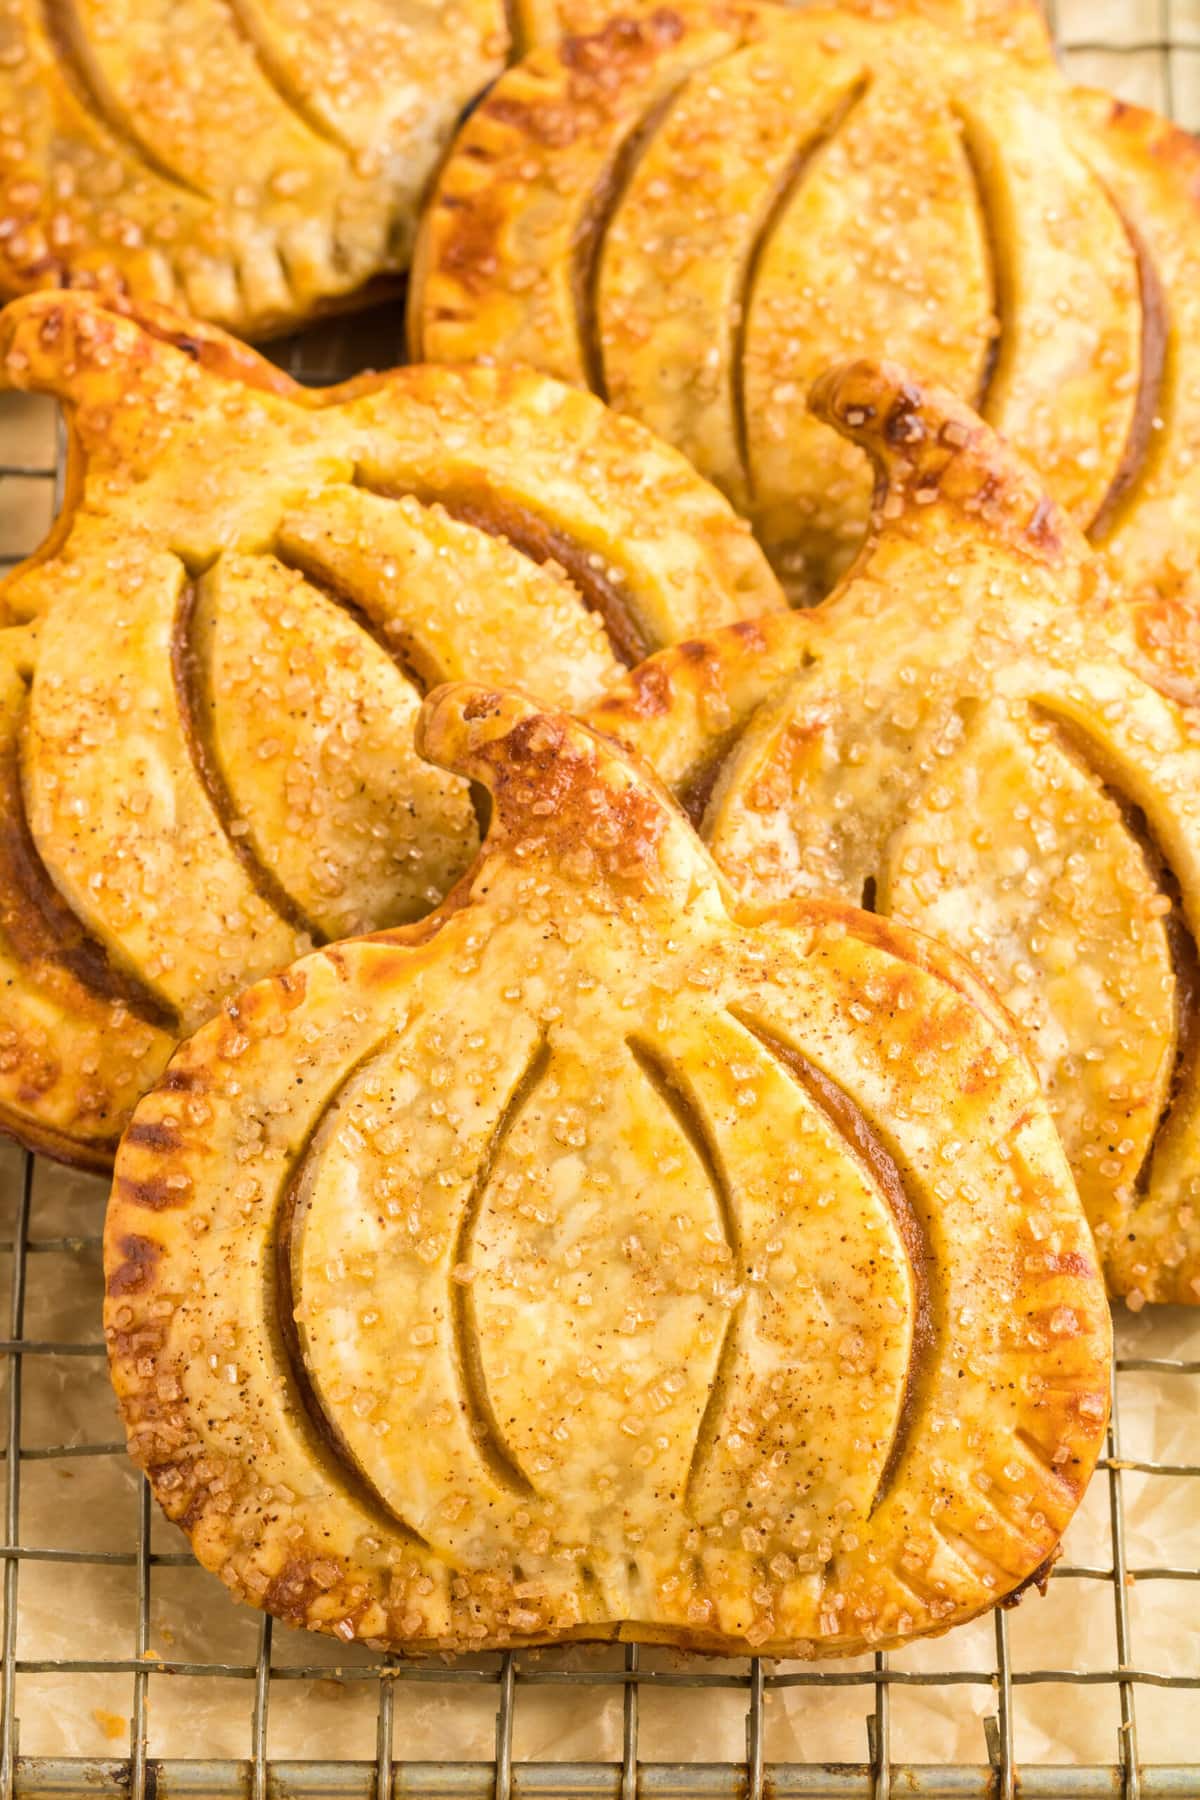
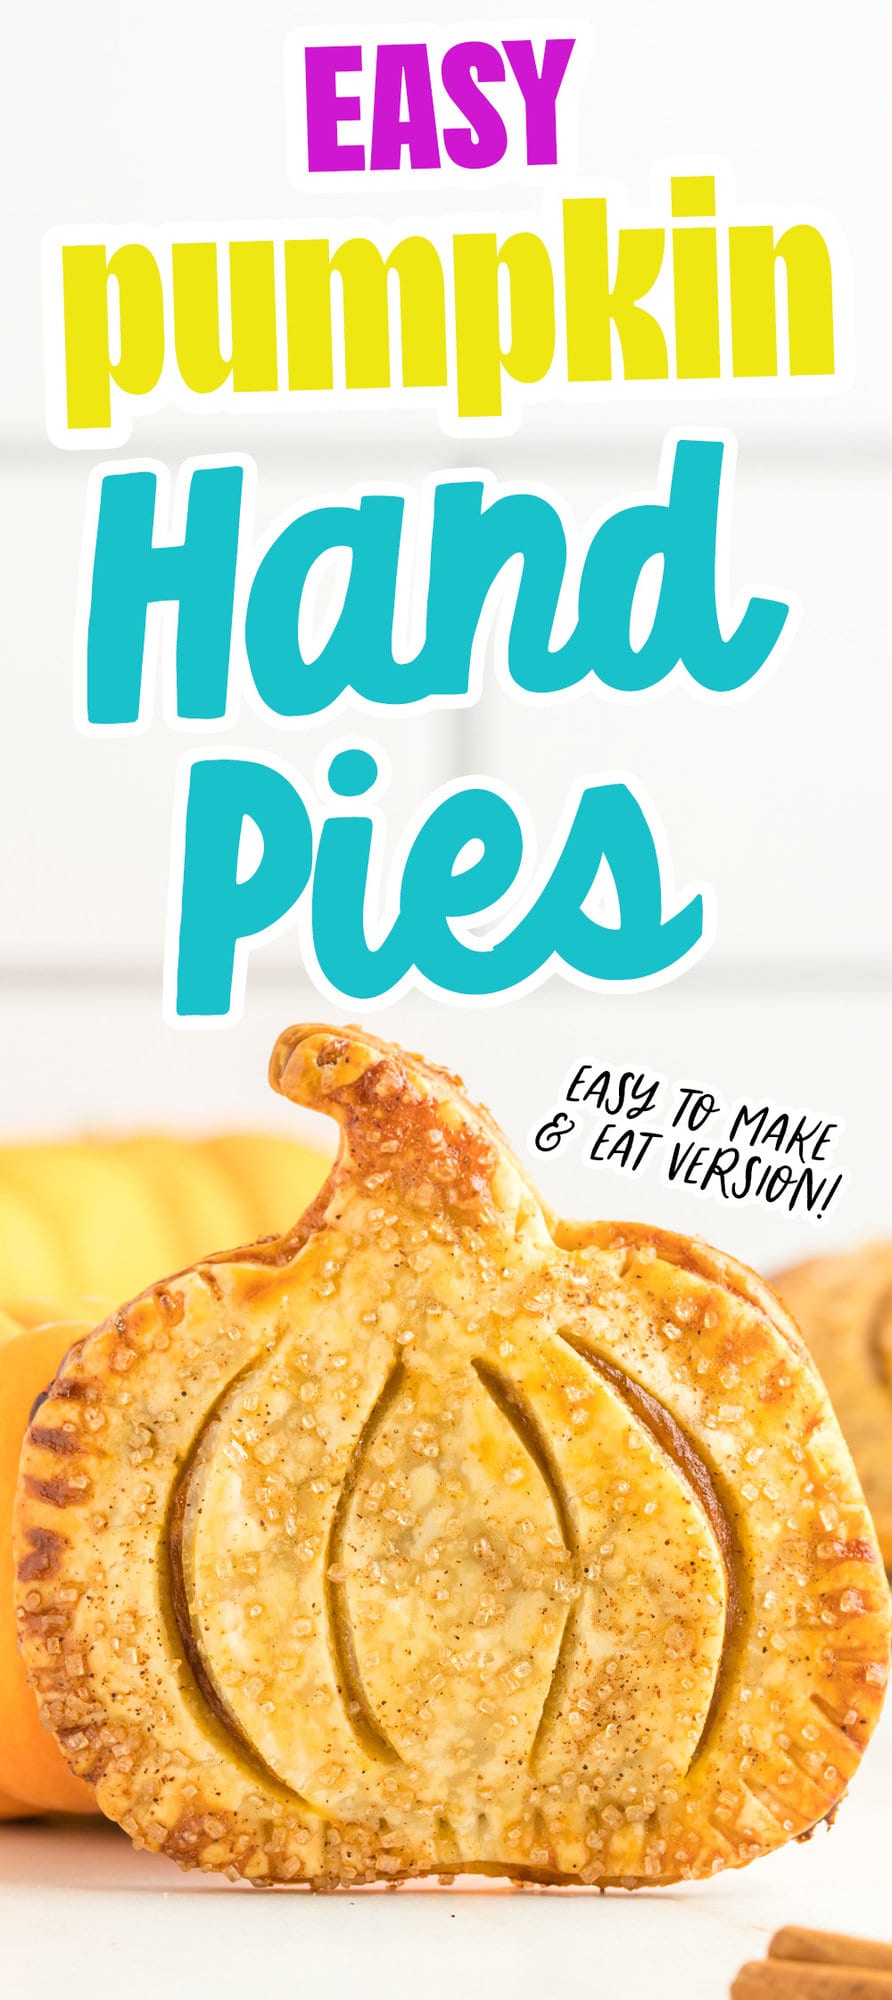
Delicious easy pumpkin hand pies are a simple, sweet and buttery treat that are loaded with pumpkin spice flavor and have an adorable baked pumpkin shape!
Don’t want all the extras in a recipe post? We provide a skip to recipe button in the top left corner, as well as a clickable table of contents, just below, to help make this page easier to navigate.
Table of contents
Easy Baked Mini Pumpkin Turnovers
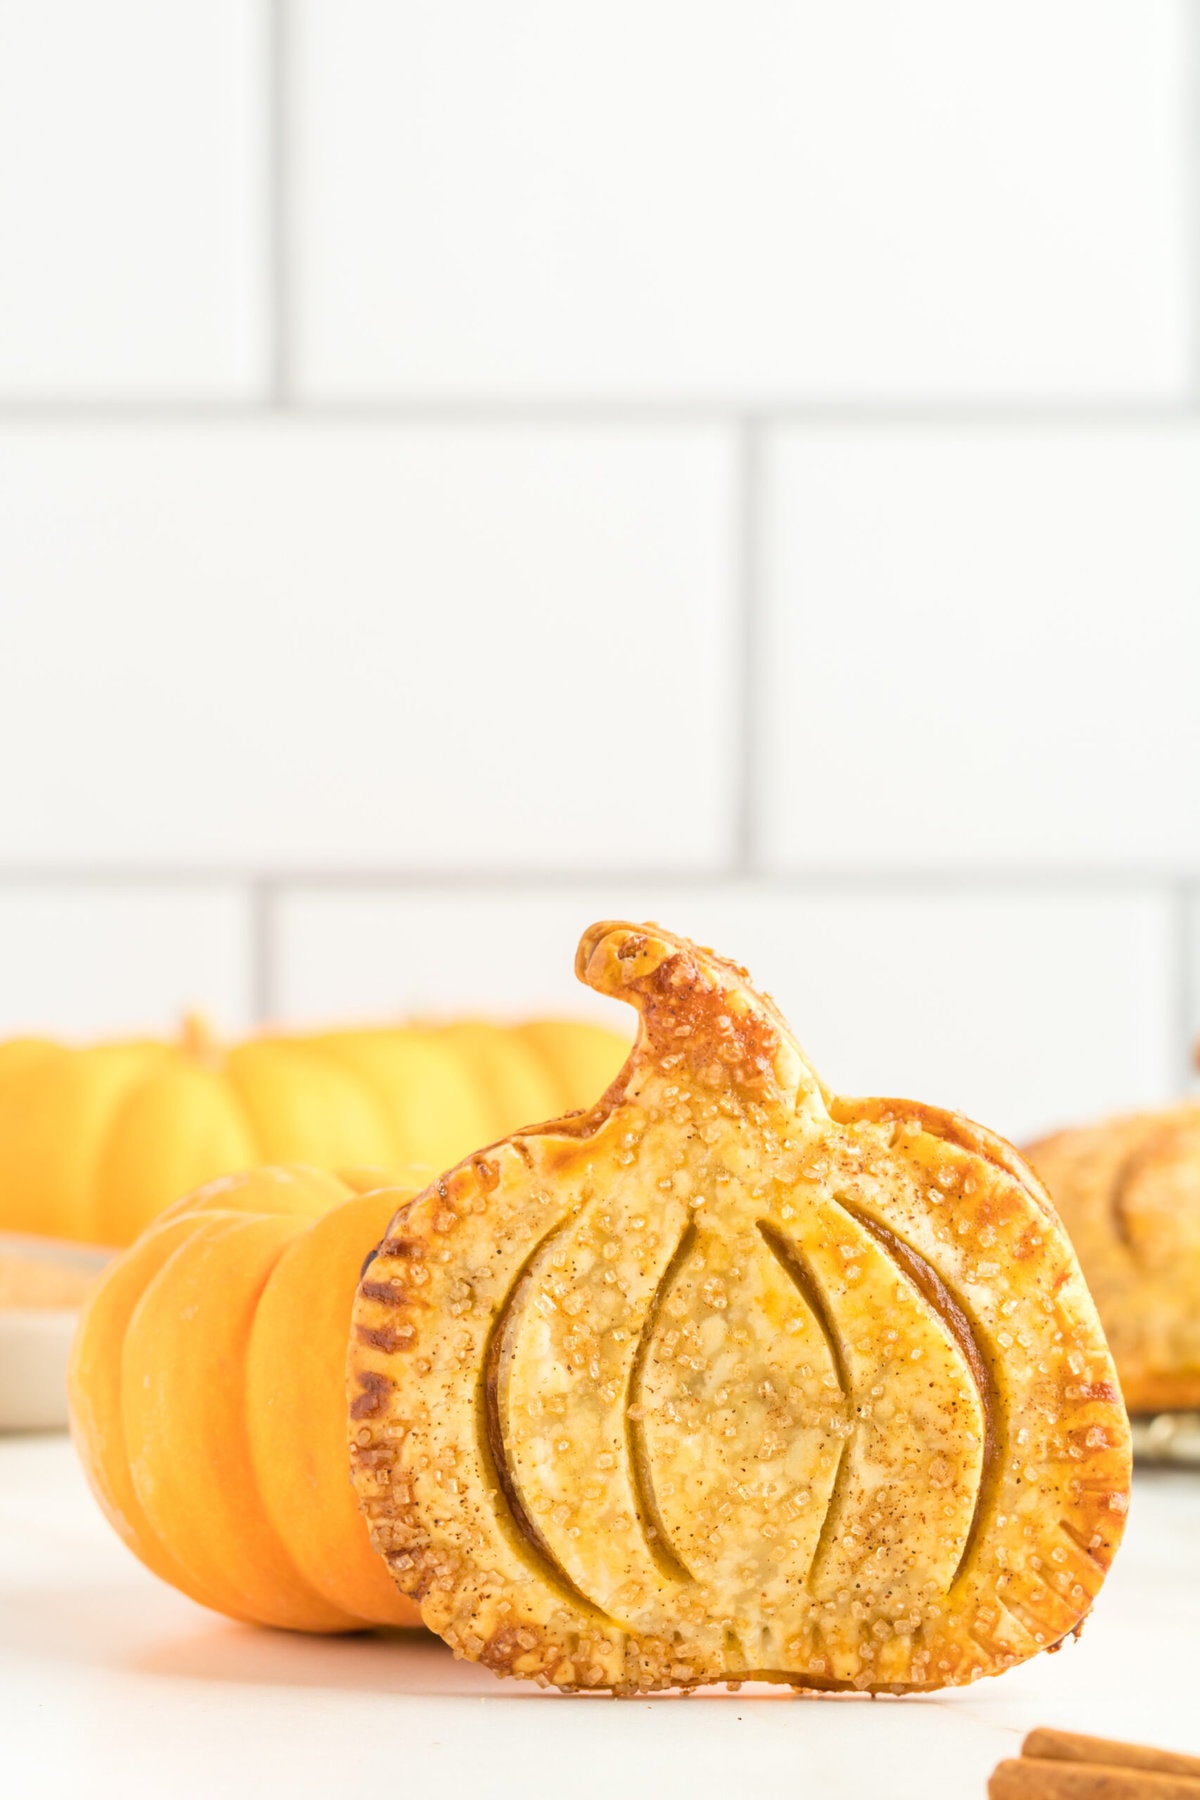
We love rich, delicious pumpkin spice flavors in fall – and these fun, easy to serve and easy to eat hand pies are the ultimate easy dessert for fall!
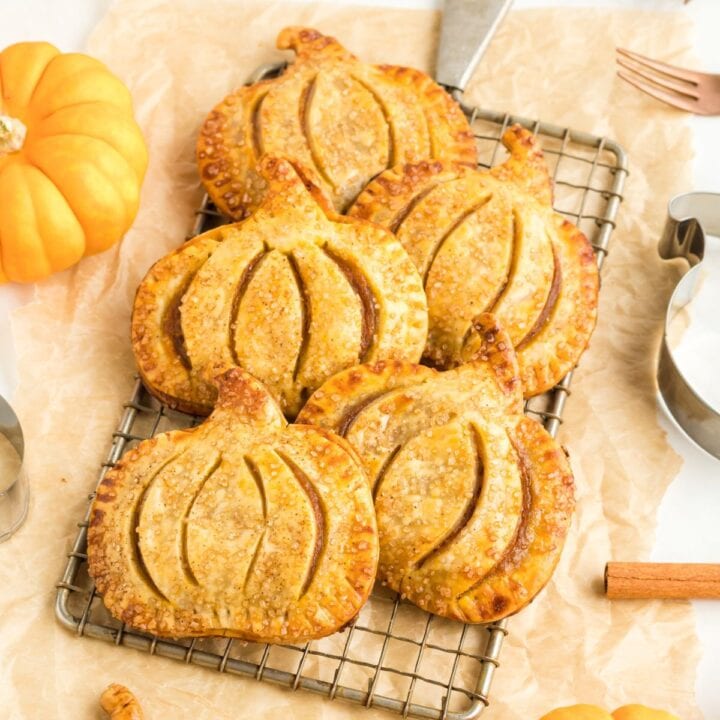
We love the fun, festive shape of these hand pies – they are simple to make and so beautiful for parties, plus they are great all fall long!
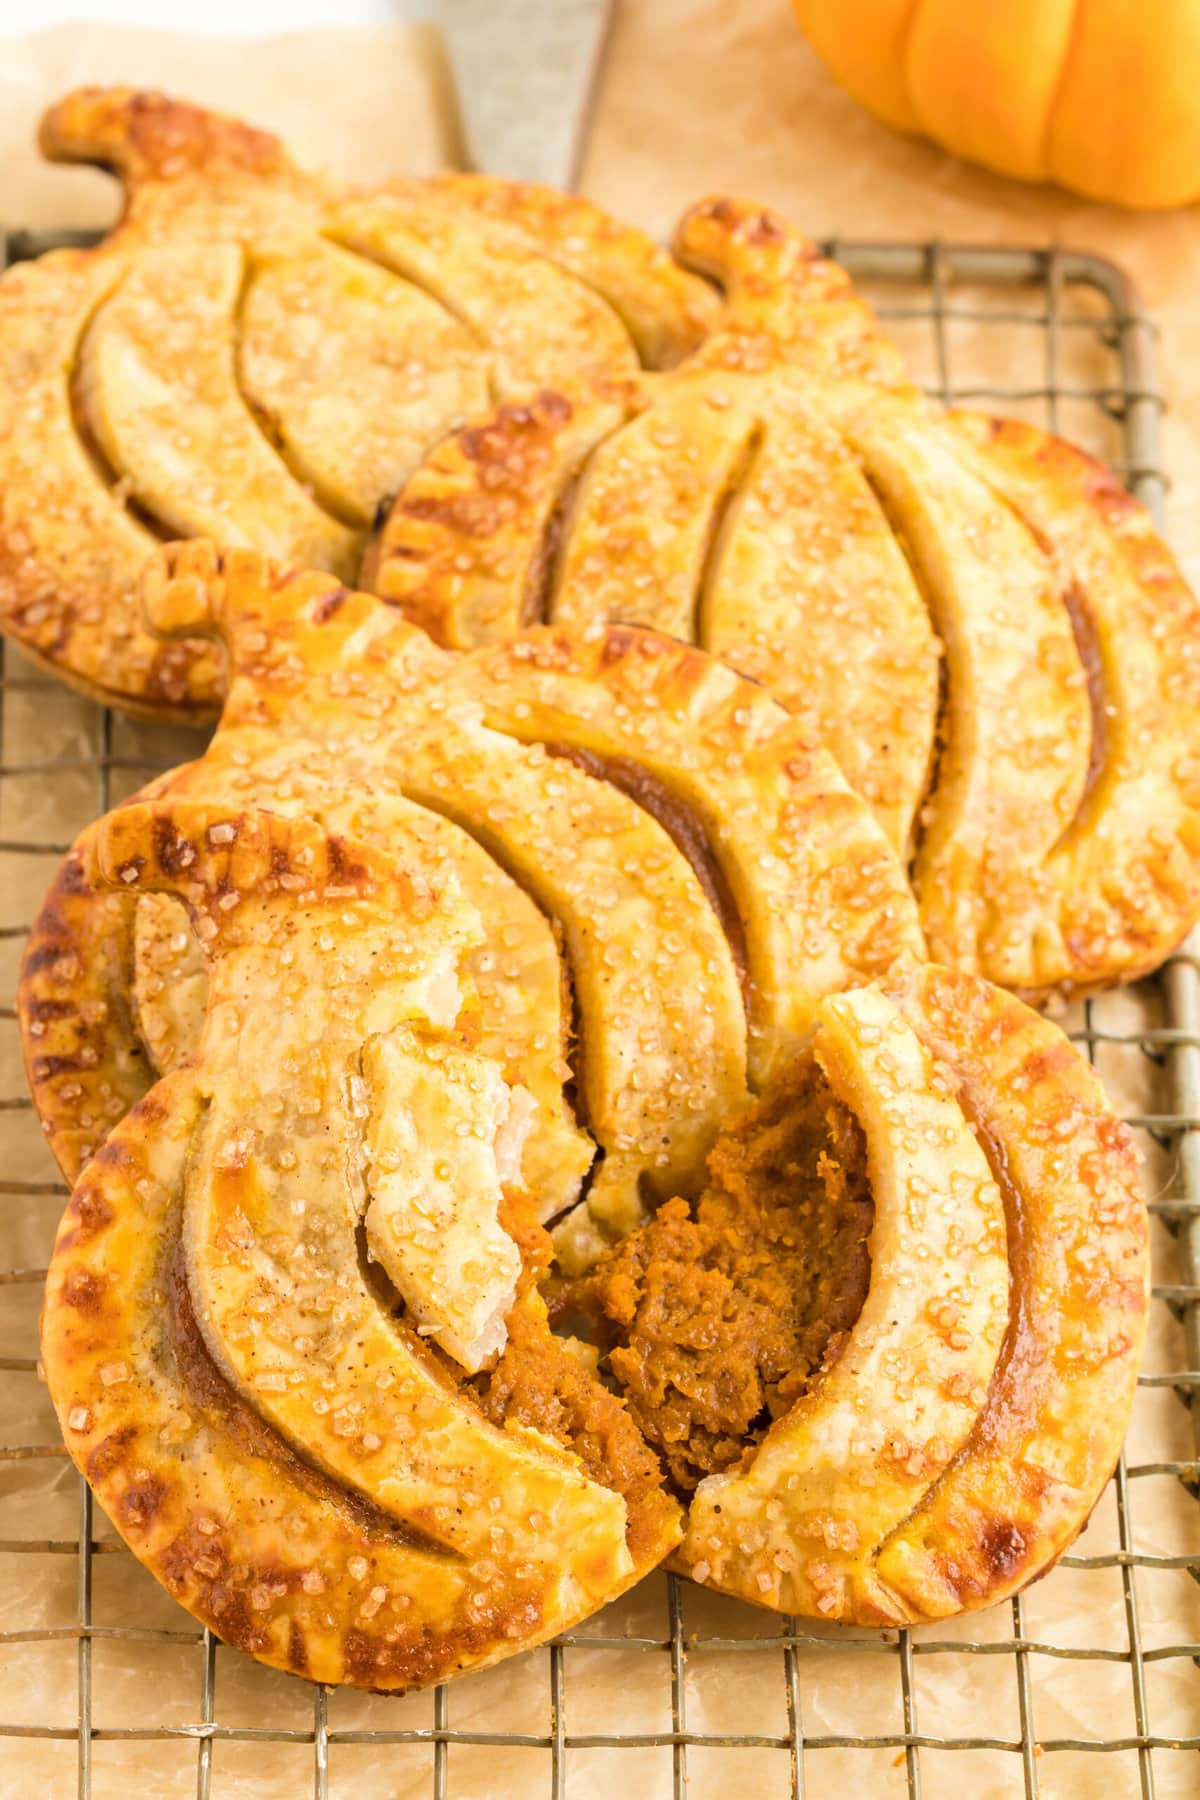
We love serving these turnovers for Halloween parties, on Thanksgiving as a simple sharable dessert, and on tailgating weekends for breakfast with coffee – they are simple and full of flaky crust and pumpkin flavor!
How to Make Pumpkin Hand Pies
To make these pumpkin shaped hand pies, you’ll need:
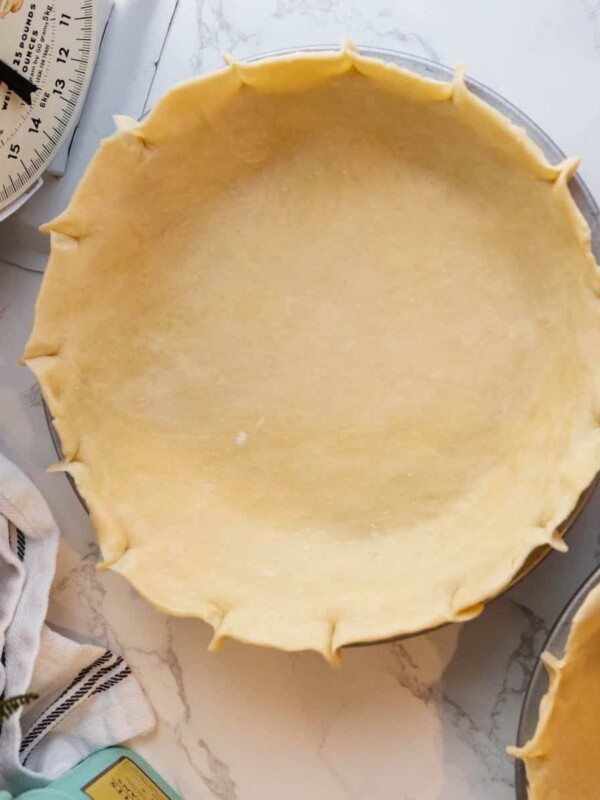
- Refrigerated Pie Crust: The base of your hand pies. It saves time and gives you that flaky, buttery crust.
- Pumpkin Puree: The star of the show! Provides the primary flavor and filling texture.
- Brown Sugar: Adds sweetness and a hint of molasses, enhancing the pumpkin flavor.
- Heavy Cream: Creates a richer filling, making it smoother and creamier.
- Pumpkin Pie Spice: The blend of cinnamon, nutmeg, and other spices gives that signature pumpkin pie flavor.
- Kosher Salt: Enhances all the flavors and balances the sweetness.
- Egg: Used for egg wash, which helps to seal the edges of the pies and gives the crust a golden-brown finish.
- Coarse Sugar (Optional): Adds a little sparkle and crunch to the top of your pies when sprinkled before baking.


After you’ve gathered your ingredients, we will use the following process:
- Prep. Preheat the oven to 400 degrees F. Line two large baking sheets with parchment paper and set aside. Gently unroll the pie crusts onto a lightly floured flat surface. Lightly roll out the dough with a rolling pin to remove any creases. You do not want to roll the dough too much as it will become too thin. Using a 3 ½” pumpkin shaped or similar cookie cutter cut the dough and place the pieces on the parchment lined baking sheets. Roll out the scrapes and cut out more pumpkins. You should be able to get 9 pumpkins from each sheet of pie crust for a total of 18 pumpkins. Place the cut out pumpkins in the refrigerator while you make the filling.
- Mix & Make. In a medium bowl mix together the pumpkin, brown sugar, heavy cream, 1 teaspoon pumpkin pie spice and salt. Fill the center of 9 of the cut pumpkins with the pumpkin filling leaving a ?” border around the edge. Using a small knife, cut four curved slits in the remaining 9 pumpkins to resemble the ridges of a pumpkin. Lightly beat the egg with a splash of water to create the egg wash. Brush the border around the filled pumpkins with the egg wash and top with the vented pumpkins. Lightly press together the seams with your fingers, then crimp the edges with a fork. Brush the tops of the pumpkins with the remaining egg wash. If using the coarse sugar, mix it together with the remaining ½ teaspoon of pumpkin pie spice and sprinkle over the egg washed pumpkins.
- Bake. Bake for 15-20 minutes or until the crust is golden brown. Allow the pies to rest for 5 minutes on the baking sheet before enjoying.
Tips and Tricks For Perfect Baked Pumpkin Hand Pies
Reheat: The pies can be reheated in the oven at 350 degrees F for 10 minutes, or in an air fryer at 350 degrees F for 2-3 minutes.
Pre-assemble: The pies can be assembled up to two days before baking. Complete steps 1-7, leaving off the egg wash and sugar sprinkle. Store the unbaked pies in a single layer in an airtight container or on the baking sheets wrapped tightly with plastic wrap for up to 2 days. When ready to bake, add the egg wash and sprinkle with the sugar and spice mixture.
Freeze: Unbaked, assembled pies can be frozen for up to two months. When ready to bake, allow the pies to defrost in the refrigerator before brushing with the egg wash and topping with the sugar and spice mixture.
Use a cookie cutter: You can use any shaped 3 ½” cookie cutter to make the pies. Just be sure to cut some kind of vent into the top crust before assembling. If using a smaller cookie cutter, the pies will take a little less time to bake. Start checking on the pies starting around 10 minutes if using a smaller shape.
Serve with ice cream or whipped cream: The pies can be enjoyed on their own, or pair them with sweetened whipped cream, or vanilla ice cream for a more decadent dessert.
Roll Evenly: Make sure to roll out your refrigerated pie crust to an even thickness for uniform cooking.
Chill the Filling: After mixing, put your pumpkin filling in the fridge for a bit. It’s easier to work with when it’s not too runny.
Seal Edges: Press down the edges with a fork after filling to make sure they’re sealed well, or else you risk a filling escape!
Egg Wash: Don’t skip this step! It makes your pies golden and lovely. Plus, it helps the coarse sugar stick, if you’re using it.
Vent It: Make small slits in the top of each pie for steam to escape. It prevents the pies from getting soggy or bursting open.
Use a Cookie Cutter: For a festive touch, consider using a seasonal cookie cutter like a leaf or a pumpkin for a cute shape!
Parchment Paper: Use it on your baking sheet for easier cleanup and to prevent sticking.
Check the Oven: Every oven is different. Start checking your pies a couple minutes before the time’s up to avoid over-baking.
Taste-Test the Filling: Before sealing your pies, taste the filling to see if it needs any last-minute adjustments to the spices or sweetness.
Batch Cooking: If you’re making a lot, you can freeze unbaked pies and then bake from frozen—just add a few extra minutes to the cooking time.
FAQs
Store in an airtight container in the refrigerator for up to 4 days.
Bake at 350 degrees Fahrenheit.
Hand pies can be assembled and stored in the fridge or freezer to bake later.
Turnovers are done when the flaky crust has browned and the filling is bubbling hot.
You can use any shaped 3 ½” cookie cutter to make the pies. Just be sure to cut some kind of vent into the top crust before assembling. If using a smaller cookie cutter, the pies will take a little less time to bake. Start checking on the pies starting around 10 minutes if using a smaller shape.
What to Serve With Pumpkin Hand Pies
Vanilla Ice Cream: A classic choice that complements the pumpkin spice flavors.
Whipped Cream: A dollop can bring out the pie’s creaminess.
Hot Drinks: Think spiced cider, chai tea, or even a pumpkin spice latte for full-on fall immersion.
Caramel Sauce: Drizzle a little for an extra touch of sweetness.
Nuts: A side of roasted pecans or almonds could add a nice crunch.
Apple Slices: Fresh or caramel-coated for a refreshing, fruity contrast.
Cheese Plate: If you’re going fancy, a small cheese plate could balance the sweetness with some savory flavors.
Cranberry Sauce: A tart contrast to the sweet and spicy pumpkin.
Cinnamon Sugar: A little dish for dipping could be fun and add an extra hit of sweetness and spice.
Coconut Cream: If you’re going dairy-free, this makes a great alternative to whipped cream or ice cream.
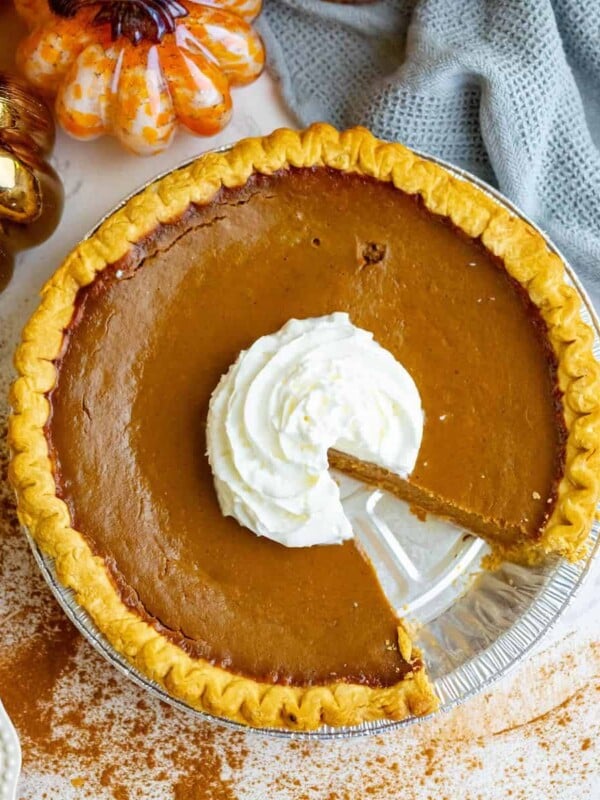
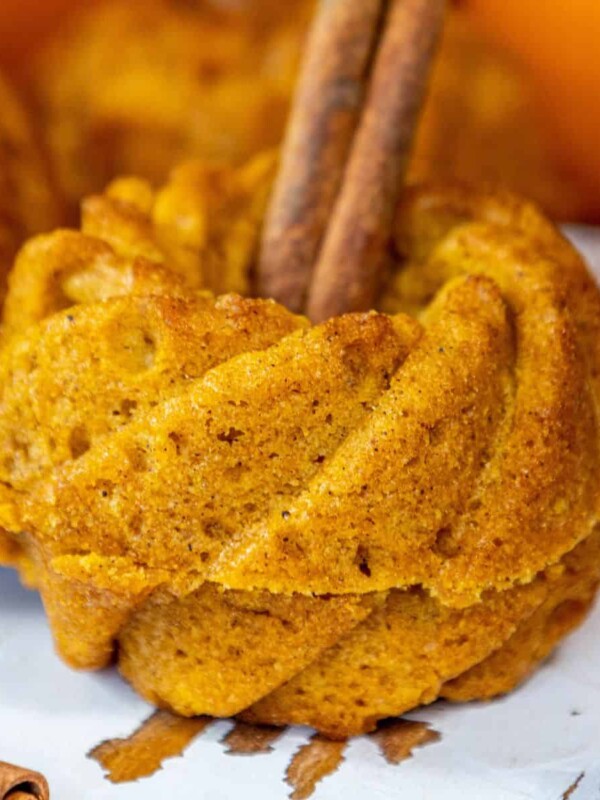
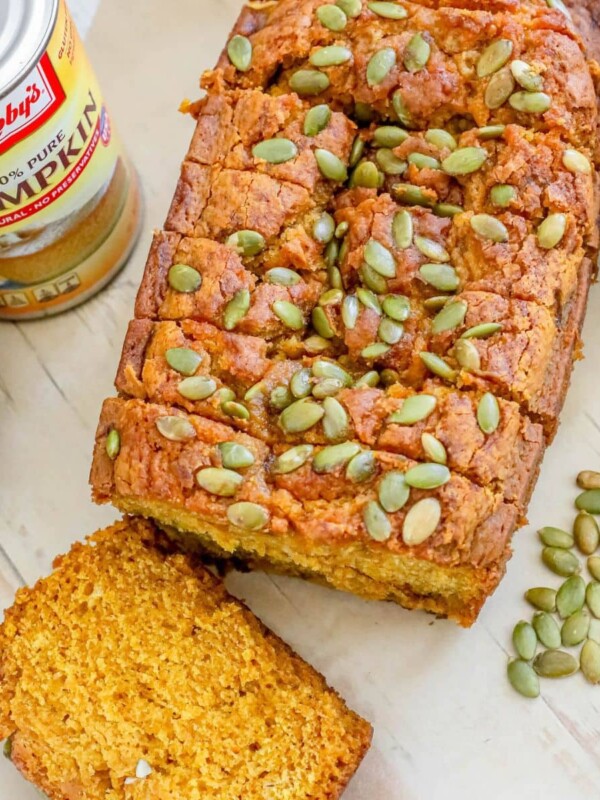
Try these other delicious pies:


Pumpkin Hand Pies Recipe
If you love this easy recipe please click the stars below to give it a five star rating and leave a comment! Pease also help me share on facebook and pinterest!
Follow on Instagram
CONNECT WITH SWEET C’S!
Be sure to follow me on social media, so you never miss a post!
Only have 30 minutes to get dinner on the table? Sign up for my 30 minute dinner plans direct to your inbox!
Find and shop my favorite products in my Amazon storefront here!
Pumpkin Hand Pies
These super simple adorable pumpkin hand pies are packed with pumpkin spice and everything nice!
Ingredients
- 1 (2 count) package refrigerated pie crust
- 1 cup pumpkin puree (not pumpkin pie filling)
- ⅓ cup brown sugar, packed
- 2 tablespoons heavy cream
- 1 ½ teaspoon pumpkin pie spice, divided
- ¼ teaspoon kosher salt
- 1 egg
- 2 tablespoons coarse sugar (optional)
Instructions
- Preheat the oven to 400 degrees F. Line two large baking sheets with parchment paper and set aside.
- Gently unroll the pie crusts onto a lightly floured flat surface. Lightly roll out the dough with a rolling pin to remove any creases. You do not want to roll the dough too much as it will become too thin.
- Using a 3 ½” pumpkin shaped or similar cookie cutter cut the dough and place the pieces on the parchment lined baking sheets. Roll out the scrapes and cut out more pumpkins. You should be able to get 9 pumpkins from each sheet of pie crust for a total of 18 pumpkins. Place the cut out pumpkins in the refrigerator while you make the filling.
- In a medium bowl mix together the pumpkin, brown sugar, heavy cream, 1 teaspoon pumpkin pie spice and salt.
- Fill the center of 9 of the cut pumpkins with the pumpkin filling leaving a ⅓” border around the edge.
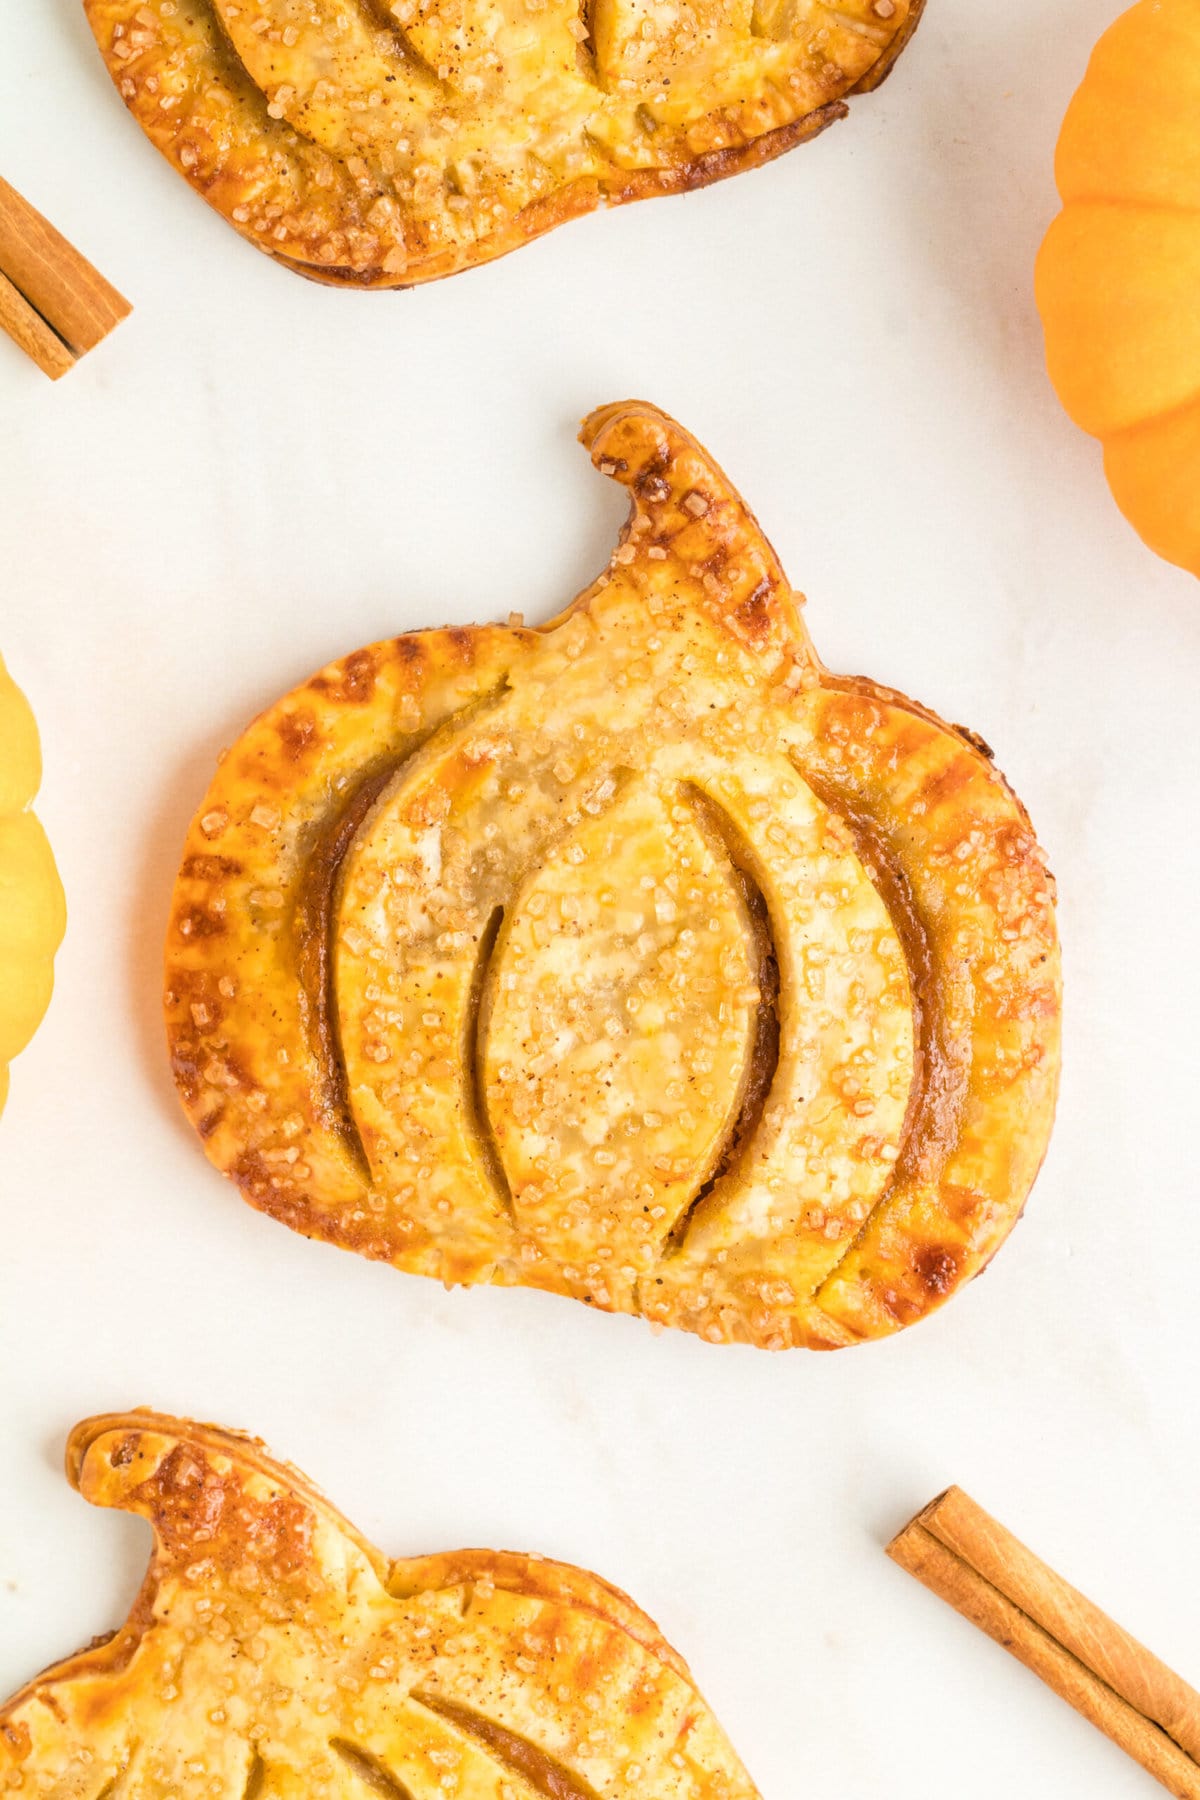
- Using a small knife, cut four curved slits in the remaining 9 pumpkins to resemble the ridges of a pumpkin.
- Lightly beat the egg with a splash of water to create the egg wash. Brush the border around the filled pumpkins with the egg wash and top with the vented pumpkins. Lightly press together the seams with your fingers, then crimp the edges with a fork.
- Brush the tops of the pumpkins with the remaining egg wash. If using the coarse sugar, mix it together with the remaining ½ teaspoon of pumpkin pie spice and sprinkle over the egg washed pumpkins.
- Bake for 15-20 minutes or until the crust is golden brown. Allow the pies to rest for 5 minutes on the baking sheet before enjoying.
Recommended Products
As an Amazon Associate and member of other affiliate programs, I earn from qualifying purchases at no extra expense to you.


Nutrition Information
Yield 9 Serving Size 1Amount Per Serving Calories 153Total Fat 7gSaturated Fat 3gTrans Fat 0gUnsaturated Fat 4gCholesterol 24mgSodium 127mgCarbohydrates 22gFiber 1gSugar 11gProtein 2g
Nutrition is automatically calculated by Nutritionix - please verify all nutrition information independently and consult with a doctor or nutritionist for any and all medical and diet advice.